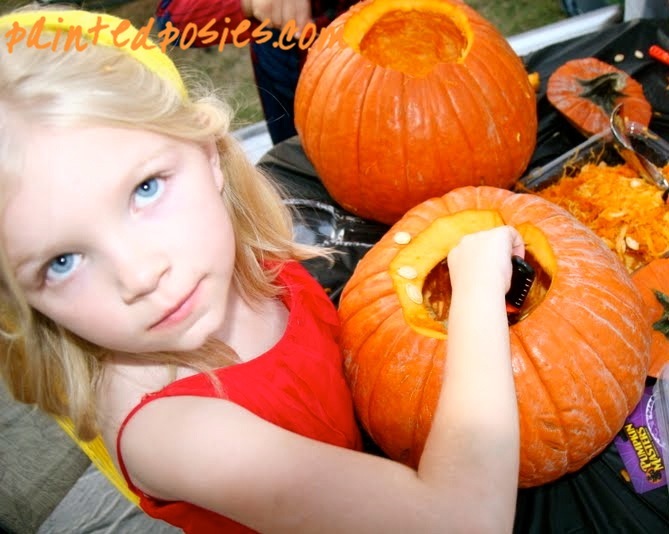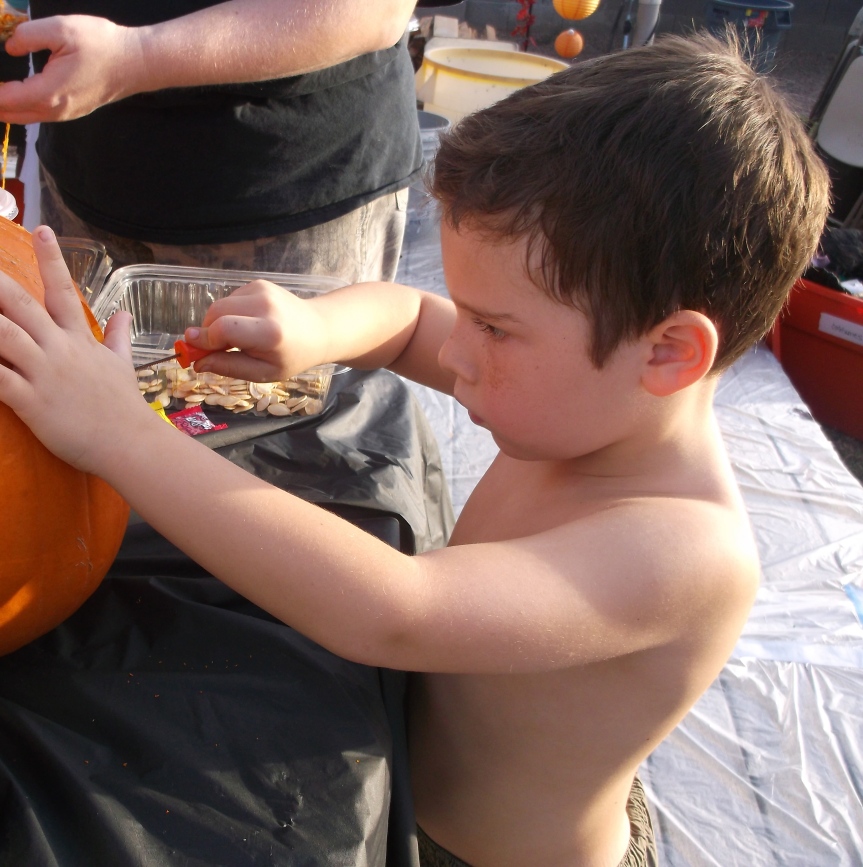
TGIF ladies and gentlemen! I hope the week has been good to you! Pumpkin Party planning is in full swing, now that I had a semi-panic attack about how close it’s getting. We are in our … hum, I think we’re in our 7th year now? Yea, that sounds about right. If it’s one thing we’ve got down pat, it’s how to set up the pumpkin carving stations to accommodate the most people and create the least mess. Even if you aren’t setting up for 50+ people, I figure it can still help to get some tips and tricks, right? Especially since pumpkin carving is such a messy task to begin with. Add a few kids, and you’ve got yourself the potential for chaos with the sharp utensils, slimy fingers and rogue seeds.

A list of tips, shall we?
- Set up a tarp under the carving table, and cover the carving table with a cheapie disposable tablecloth. This makes it easier to clean up, since you can just gather the ends together and dump it all in the trash when you’re done making a mess. This is especially helpful if you are doing your carving outside, since seeds turn into plants (we composted all of the jack-o-lanterns one year and had a garden full of pumpkins not long after).
- Eliminate the chairs. Kids are able to get better leverage when they are standing, and chairs get in the way of moving around the table.
- Have a variety of tools to use, including: crayons, markers, paper, jack-o-lantern stencils, scrapers, sharp knives, poking utensils, mallets, carving sets, measuring cups with handles, wooden spoons, cookie cutters, metal spoons, tools with short handles, toothpicks, skewers, etc. Think outside the box!
- Have a bucket of soapy water at each end of the table for rinsing hands and collecting tools after carving.
- Set out paper towels, hand towels, and baby wipes for people to use after carving also. This is especially handy if you have slow drains inside. There’s nothing like having to unclog a sink plugged up with pumpkin guts in the middle of a big party!
- Have gut buckets on the table for collecting seeds and innards. These are especially useful if they are recycled containers you can toss after the carving session ends. My mother-in-law brings us used containers from the deli she collects throughout the year.
- If you intend to roast some of your pumpkin seeds, have your cookie sheets at the ready so you can collect seeds as people are scooping them out. Sure beats digging through gut buckets later!
- Have battery-operated tea lights (or, if you live life on the edge like we do, old school tea lights) on hand for illuminating the creations. Oh, hey, I just saw how you could put glow sticks inside the carved pumpkins instead, so that’s an idea for you too! 😉
- As an alternative to carving pumpkins, instead use stickers, Mr. Potato Head-type decorating kits, markers, paint, or crayons.
- Have FUN and try not to get stressed over the mess! Or am I the only one that needs to be reminded of this?

So there are my best tips for creating a pumpkin carving station. Do you know something I don’t know? Please share any tips or tricks you have!


