Happy Autumn! I realize that people living anywhere other than Phoenix may not be as incredibly excited as I am that it is officially the beginning of fall. This one day is a promise that we might actually see the end of triple digit temps sooner rather than later. I’m so thrilled that I decorated our front porch for Autumn already! I’ll post pictures soon, I promise. In the meantime, I managed to finish our gallery wall today after hiking almost 8 miles (and nearly 2000 feet in elevation gain, aw yea!), grocery shopping and decorating for Fall. I am EXHAUSTED, so I apologize in advance if this post is a little out of it! The rest of our house is a complete disaster, but as I write this, I can see down the hall to our re-vamped gallery wall and it makes me feel so much better. So without further babbling from me, here is the before and after.
BEFORE
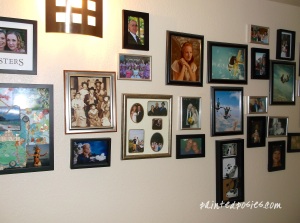
Notice how everything looks crooked and disheveled?
The problem with this gallery wall? There is no consistency between pictures, so they don’t look related to one another. They need to be one big, happy family!
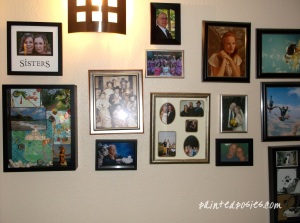
AFTER

Keeping everything level with the hall light added coherency to the gallery wall.
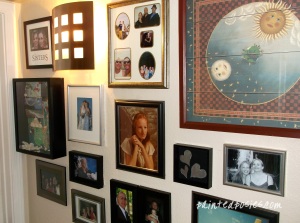
Notice the framed hearts that I created last week!
I added a framed print that I’ve had since high school, along with shadow boxes that I’ve made over the years…
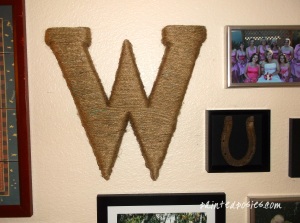
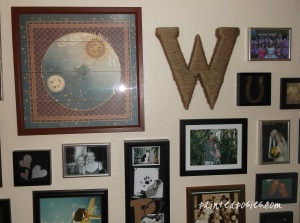
The initial that I created last week!
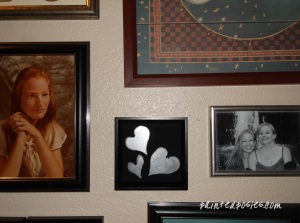
Do you see my beautiful Mom in the photo on the left? That’s me and my best friend on the right!
This wall is at the end of a dim hallway in our house. It’s a little tough to get pictures of the whole space because of this, so bear with me a little longer, OK? Here is a list of what I changed:
- Added framed trinkets that I created last week in this post
- Added an initial that I showed you in this post
- Hung an old picture that has been collecting dust (see the sun and moon picture above?)
- Leveled all the pictures and created a two-inch surround for each of them
- DUSTED! Big deal around here…
Here are some tips for you when you do your own gallery wall:
- Create a consistent border around each frame or object. I used a two inch border in our gallery wall.
- Use a ruler to measure everything out: the border, the distance to the frame hanger, etc.
- Use a small, portable level to make sure that everything is even and straight.
- Dust as you go.
- Use something sticky to adhere your picture to the wall after hanging so that things don’t go wonky over time (houses settle, things bump in the night, pictures go crooked before you know it). My high-tech secret? Duct tape.
- Mix up your media: I used framed family pictures, framed trinkets, a 3-D initial, a framed print, shadow boxes and incorporated our hall light into the display.
- Use complimentary frames for every picture. I used silver, wood and black to create consistency and interest.
- Remove the table stand from the back of the pictures so they will sit flush with the wall. (You know-those cardboard props that are attached to the back for when you want to put the frame on a side table?)
My grandmother instilled in us a love for pictures. With 13 kids and about 60 grandkids, you can imagine every surface in her home was covered in photos. I love that I can carry on this tradition in our house. And more than that, it’s in my genes to surround myself with the people I love. How do you display pictures of your loved ones at home? Do you have any tips or tricks to making them easy to change out? I’d love to hear what you do, please share!


