So we are still working on our gallery wall over here. I really like all the cool initials you can buy at craft stores or from catalogues right now, but I’m too cheap to spend the money on one. Especially when I can make one from stuff we have lying around the house.
I saw a link on pinterest for this kind of project and figured I could wing it without following their instructions. The pin picture did give me the starting point-and thank goodness I remembered it because I can’t find the pin now! Here is a quick tutorial on creating a gallery wall initial. It was a little tricky, and if you are doing a different initial letter then you are going to have to get creative. I imagine not everyone wants to do the letter “W”! But in the end, it took me just a couple hours to complete.
Here is a picture of the finished project. To get the how-to, click on the “more…” tab! To see Gallery Wall Part One, click here.
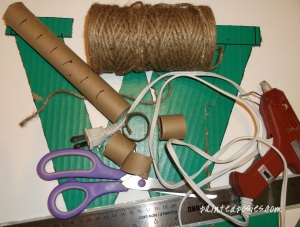
What you’ll need (aside from patience):
Two large sheets of cardboard
Either a letter stencil or a ruler (to make your own stencil, print your letter out in you favorite font, cut it out and viola!)
Scissors
Paper towel, wrapping paper or toilet paper rolls
Hot glue
Twine, ribbon, or rope
Now what:
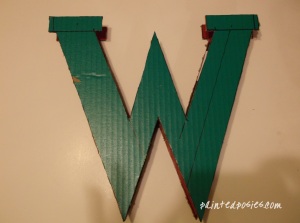
I created my “W” with a ruler and sharpie. Easy enough for me, since it’s all straight lines, right? Get creative for curves! Use a bowl, or bucket, or secure your pencil with a pin attached to the center of your curve and use that as an anchor for drawing. Once you have your letter drawn out, cut it out already! Then use that one as a template to create another one. They don’t have to be perfect since you’ll be wrapping them soon.
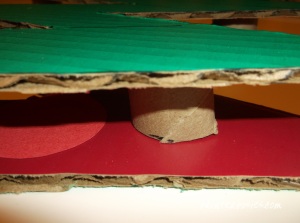
When that’s done, cut one-inch sections of your tube. Place them where you want them to be secured in the next step.
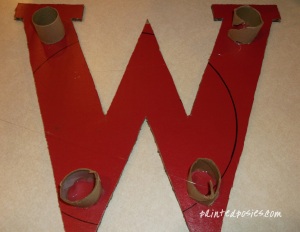
Hot glue the tubes to the first letter cutout. Then quickly put hot glue along the rims of the cardboard tubes, line up your second letter cutout and put pressure on the top letter until the glue dries.
Now it’s time to wrap! I used a rough twine to get the look I was going for.
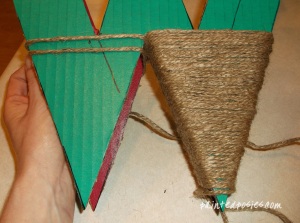
Here is a tip: wrap your letter with the same tension all the way around, but don’t put too much tension on it or the edges will collapse! Use your hot glue gun to secure the twine randomly on the back of the initial. If you’re lucky, you are doing a “C” or an “O”… that would be much easier, wouldn’t it? Once you get to the end of your twine (or your rope, whichever comes first) you’ll want to put the glue on the twine and start stacking your rows that way. Unless you need a drink right about now. In that case, I totally understand. Moving on, here’s what I mean:
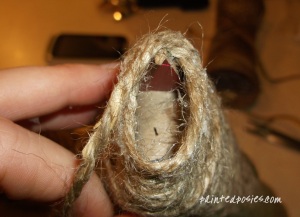
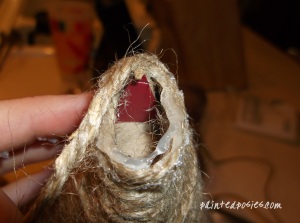
Slowly close the end so that you have a finished letter from top to bottom with no exposed “insides.” You are done! Celebratory shot, anyone? 😉 Notice from my picture, it’s not perfect, and you can see spaces where I got a little lazy (or tipsy?). But my initial will be displayed on a dimly lit wall, so I’m good with how it turned out. Happy crafting!


