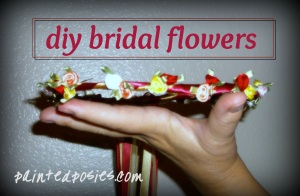
My brother-in-law and a dear friend got married in October and I’ve been meaning to share some of the photos with you guys. Trish and I have been friends for about 10 years now, and four years ago I introduced her to Joe’s brother, Mike. I remember the first time they met, Mike walked me out to my car and told me how great Trish was. I made a comment that she was single too! The rest is history. They married on their four year anniversary in the backyard of Joe and Mike’s parent’s house, and I happily volunteered to help with the wedding flowers and decorating the archway. Because the wedding was in Autumn, Trish and Mike picked fall colors for the decorating. She picked out red, gold and orange silk flowers and ribbon for her bouquet, boutonnieres, and the flower girl’s crown and basket.
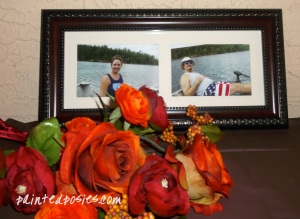
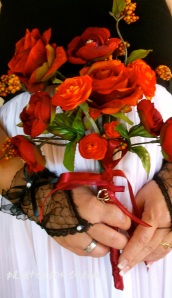
We started with the bride’s bouquet, naturally! After placing the flowers in the arrangement that Trish liked, we wrapped the stems in floral tape and cut them to the length she preferred. We tied ribbon just below the flowers so that it would cascade down a bit.
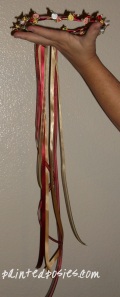
Next, we started on the flower girl’s crown of flowers. We took two wire hangers and untwisted them before shaping them into a circle the size of the flower girl’s head. Then, I had Trish wrap the wire a few times with the floral tape before wrapping it all again with coordinating ribbon. Then we randomly hot-glued tiny silk roses in varying colors to the crown, making sure they were not uniform for a prettier effect. Once that was done, we tied extra ribbon to the back, making the ribbon nice and long so that it would trail down the back of the flower girl’s dress. Trish was so pleased with the end result!
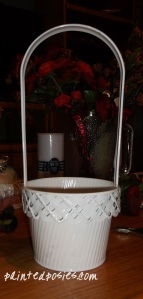
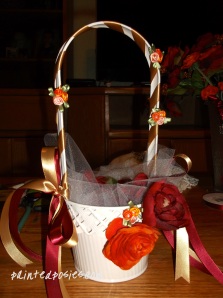
Once done with the major flower pieces, I went to work on the flower girl’s basket. Trish had bought a white metal basket for cheap and wanted to fancy it up a bit. I wrapped the handle with coordinating ribbon, then tied matching bows to the handle on both sides. Then I hot-glued two larger flowers to the front, and some of the smaller flowers randomly to the handle and by the bigger flowers. We put some tulle inside and dissected some of the remaining flowers so there would be petals to throw on the big day. I especially loved how this basket turned out!
Finally, with all the big pieces out of the way, we put together a couple simple boutonnieres for the groom and ring bearer using just one flower for each. We looped a piece of ribbon behind the groom’s flower to make his stand out a bit more. Everything looked so elegant when we were done, and I was proud to help such a sweet couple with their wedding!
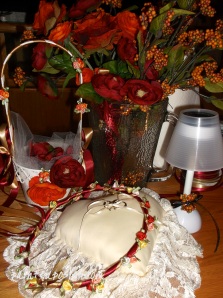
To date, this is my fourth wedding that I’ve done flowers for, including my own. Here are some pictures of the finished projects. I love how different each event was!
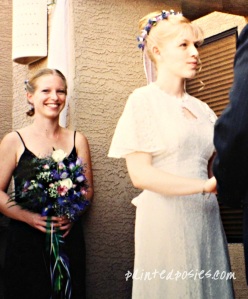
For my sister’s wedding, we used fresh flowers that I assembled the night before her big day. I did a bouquet and crown of flowers for her, a smaller bouquet me, and a boutonniere for the groom.
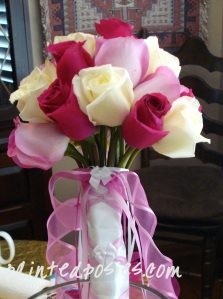
Carrie’s wedding also used fresh flowers. She wanted a bouquet of roses that we assembled the morning of the event. She was wearing a beautiful and traditional wedding dress, so we made sure her flowers were wrapped nicely in ribbon. I also did small bouquets of silk flowers for each of the bridesmaids but don’t have a picture of those (sorry!).
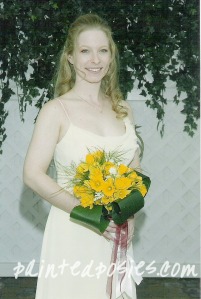
Our wedding also had fresh flowers. I used daffodils and fresh greens to make a bouquet, boutonnieres, and mini bouquets for our sisters, mothers and grandmothers. I also made a crown of silk flowers for our flower girls.
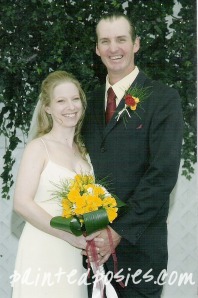
Haha, Joe with his long hair!
So many people are on a tight budget with their wedding, and assembling the flower pieces on your own is a great way to cut expenses. It can be intimidating, and it’s a lot of work, but it’s not as hard as it looks. Creativity goes a long way to make wedding flowers look professional and expensive for much less. With so many resources on the internet, it shouldn’t be too difficult to find a tutorial that can help you create your own wedding flowers!


