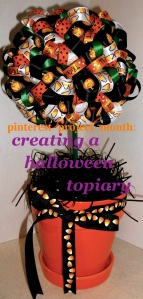
 Happy Friday! I hope everyone had a great week. I know mine flew right on by, and that’s the way I like it! Give me a weekend any time. Last weekend I went to LA to visit a dear friend, and I’ll be posting some pictures of my trip very soon. In the meantime, here is a halloween topiary project that you can get done in a weekend for sure. I found my inspiration here and thought it would be nice and easy and quick. HA! It was “easy”. And I’ll even give it “nice”. But SO not “quick”. It took me over three hours to get all those ribbons cut and pinned. Maybe the original topiary crafter didn’t put the ribbon loops so close together. And the ribbon she used was definitely thicker. She certainly used longer pins too, which I highly recommend. The short ones I used were a pain in the booty. I do love the way it turned out though!! And I appreciate her inspiration for sure. Click on “More…” for the tutorial!
Here is what you’ll need to make your very own Halloween Topiary:
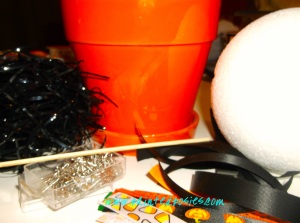
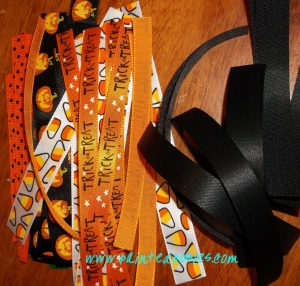
- Ribbon cut to 1.5 inch lengths (they’ll need to overlap when you loop them)
- Dowel or in my case: a skewer and plastic Starbucks straw
- Vase, flower pot or large container of some sort
- Floral foam block, or again in my case: plastic bags
- Straight pins
- Styrofoam ball
- Coordinating filler
Here’s what to do:
Cut your ribbon if you haven’t already.
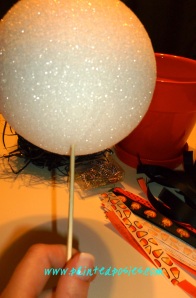
Insert dowel/skewer/hard straw into the center of the styrofoam ball.
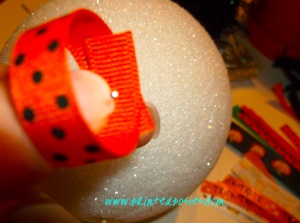
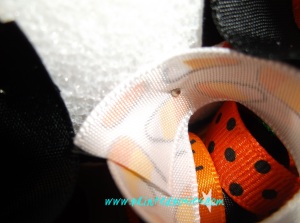
Start looping and pinning your ribbon into the styrofoam ball. TIP: Push the pin straight into the ball for best results.
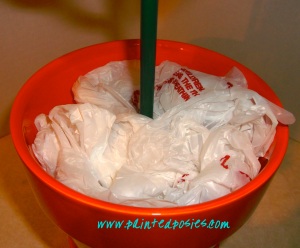
Once the ball is completely covered, place the topiary into the center of the floral foam and place that into the container you chose. My container had a hole on the bottom that the straw fit into perfectly and I forgot to get the floral foam, so I made do with what I had. I used plastic grocery bags to keep the topiary upright.
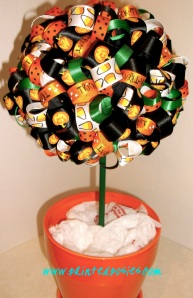
Cover the floral foam/plastic bags with your filler. Tie a bow around the container if you like.
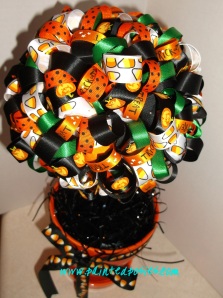
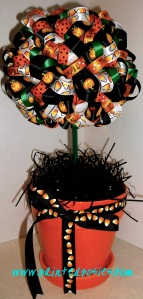
And VIOLA! You did it. Let me know if you try this project, and if it goes any quicker for you! I swore I wouldn’t do another one, even though I originally wanted to make two. But I think I might make a smaller one, and hopefully that will take less time. I’ll keep you posted!


